The DPI recorded in the metadata of an image file is just a label. This value says nothing about the actual print quality unless it is related to the physical print size. Checking the DPI of an image before printing requires understanding what this data represents, how it is calculated at the final size, and where to read it depending on the software used.
PPI and DPI: two distinct measures for image resolution
The confusion between DPI and PPI remains the most common source of error. PPI (pixels per inch) describes the pixel density in the digital file. This is the value that Photoshop, GIMP, or metadata viewers read.
DPI (dots per inch) refers to the number of ink dots an printer lays down on an inch of paper. The same file at 300 PPI can be printed at very different DPI depending on the output device.
In practice, when a printer asks for a file “at 300 DPI,” they are referring to 300 PPI. Checking the dpi of an image on Mes Liens Favoris allows for a quick check of this value before sending. Keeping the distinction in mind prevents one from believing that a file is ready for printing simply because its metadata shows 300.
Effective resolution at print size: the calculation that matters
The resolution to check is the one that exists at the final size, not that of the raw file. A photo of 3000 x 2000 pixels displayed at 300 PPI in its metadata seems correct. Placed in a layout and enlarged to 200%, it only has 150 effective PPI.
The formula is straightforward: printable size (in inches) = number of pixels on the concerned side divided by the desired resolution. For a photo-quality print, the commonly accepted threshold is 300 PPI. For a poster viewed from a distance, 150 PPI may be sufficient.
Concrete example with a common photo
A file of 4000 x 3000 pixels gives, at 300 PPI, a print of about 13.3 x 10 inches (or about 34 x 25 cm). Enlarging this print to double divides the resolution by two. The file hasn’t changed, but the pixel density per inch at the final format is insufficient.
Checking the resolution after placement in the document is the only reliable method. A check on the source file alone does not take into account the scaling done in InDesign, Illustrator, or any layout software.
Check the DPI of a photo without Photoshop
Photoshop is not necessary. Several free methods allow you to read the resolution of an image file.
- On Windows, right-click on the file, then Properties, Details tab, displays the dimensions in pixels and sometimes the horizontal and vertical resolution in PPI.
- On macOS, open the image in Preview, then Tools then Adjust Size shows the dimensions in pixels and the resolution in pixels per inch.
- In GIMP (free), the Image menu then Print Size displays the resolution and allows you to modify it. GIMP clearly distinguishes between print size and pixel size.
- Online checkers read the EXIF, JFIF, or PNG pHYs metadata of the file and display the stored resolution. The file is not modified.
Each method reads the same data: the resolution value recorded in the metadata. The result is identical regardless of the tool. The difference lies in the ability to recalculate the effective resolution at a given format, which only editing or layout software allows.
Change the resolution without losing quality: resampling or not
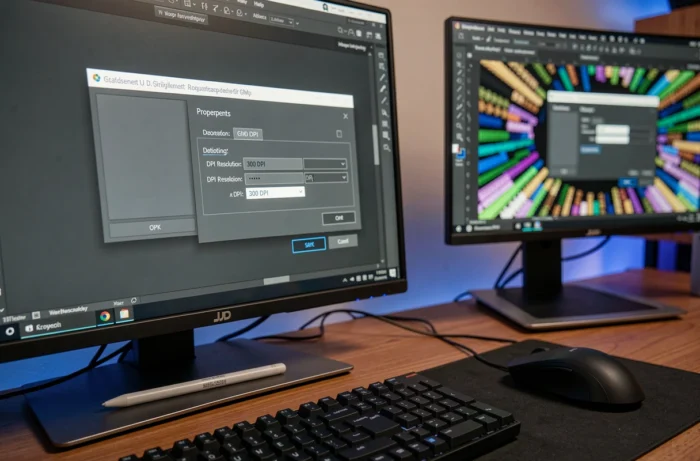
Changing the resolution value of a file does not always mean improving its quality. Without resampling, modifying the resolution redistributes the existing pixels over a different surface. A file of 3000 x 2000 pixels changed from 72 to 300 PPI without resampling gains no detail: it simply becomes smaller when printed.
With resampling enabled, the software creates new pixels through interpolation. Adobe indicates that enlarging using this method can reduce sharpness and introduce artifacts. Downsampling (reduction) is generally less problematic.
When resampling is justified
A slight enlargement (around 10 to 20%) remains acceptable for most common printing uses. Beyond that, the loss of sharpness becomes visible, especially on text areas or fine lines.
Starting from a high-resolution file right from the shot remains the only guarantee. No software processing can replace the missing pixels from the start.
Checklist before sending for printing
Before sending a file to a printer, a few quick checks can avoid unpleasant surprises.
- Check the effective resolution at the final size in the layout software, not just in the properties of the source file.
- Ensure that the file format is suitable: high-quality TIFF or PDF for professional printing, JPEG at maximum quality as a last resort.
- Make sure the color profile is in CMYK if the printer requests it, as an RGB file will be converted and colors may vary.
The threshold of 300 PPI is not universal. A large format print viewed from several meters tolerates a lower resolution. The determining criterion remains the reading distance, not an arbitrary value applied to all media. Checking the effective resolution at the final format, with the correct color profile and a file not artificially resampled, covers the essentials that separate a sharp print from a disappointing one.